
Last updated November 2, 2026
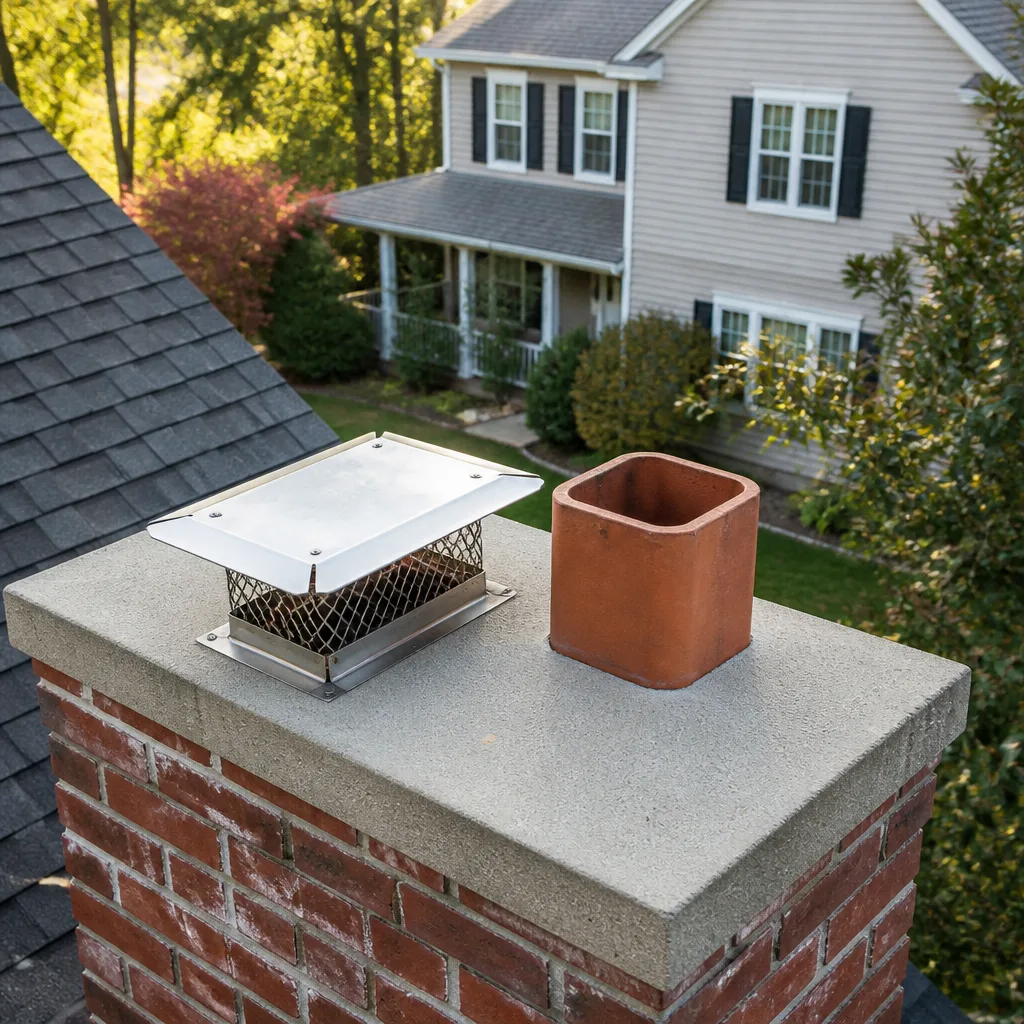 Sweep & inspection
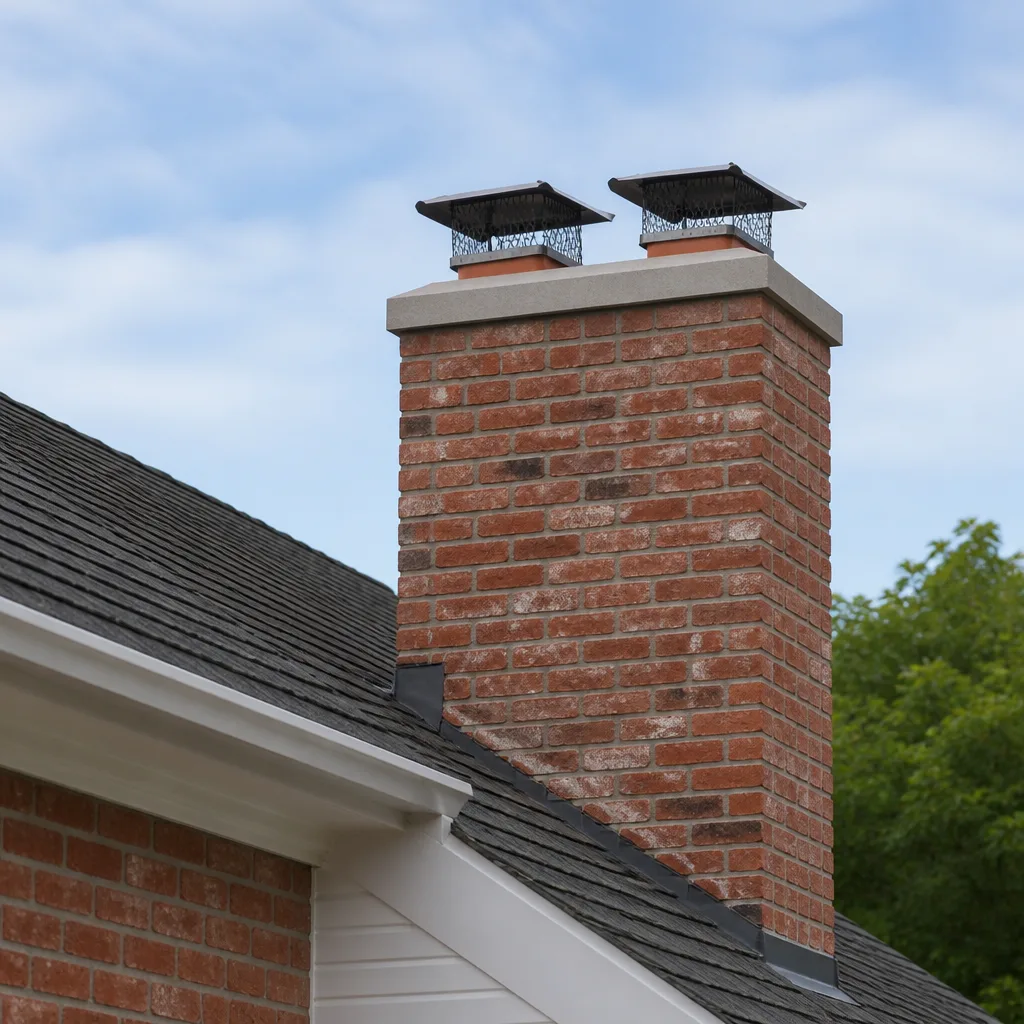 Caps & crowns
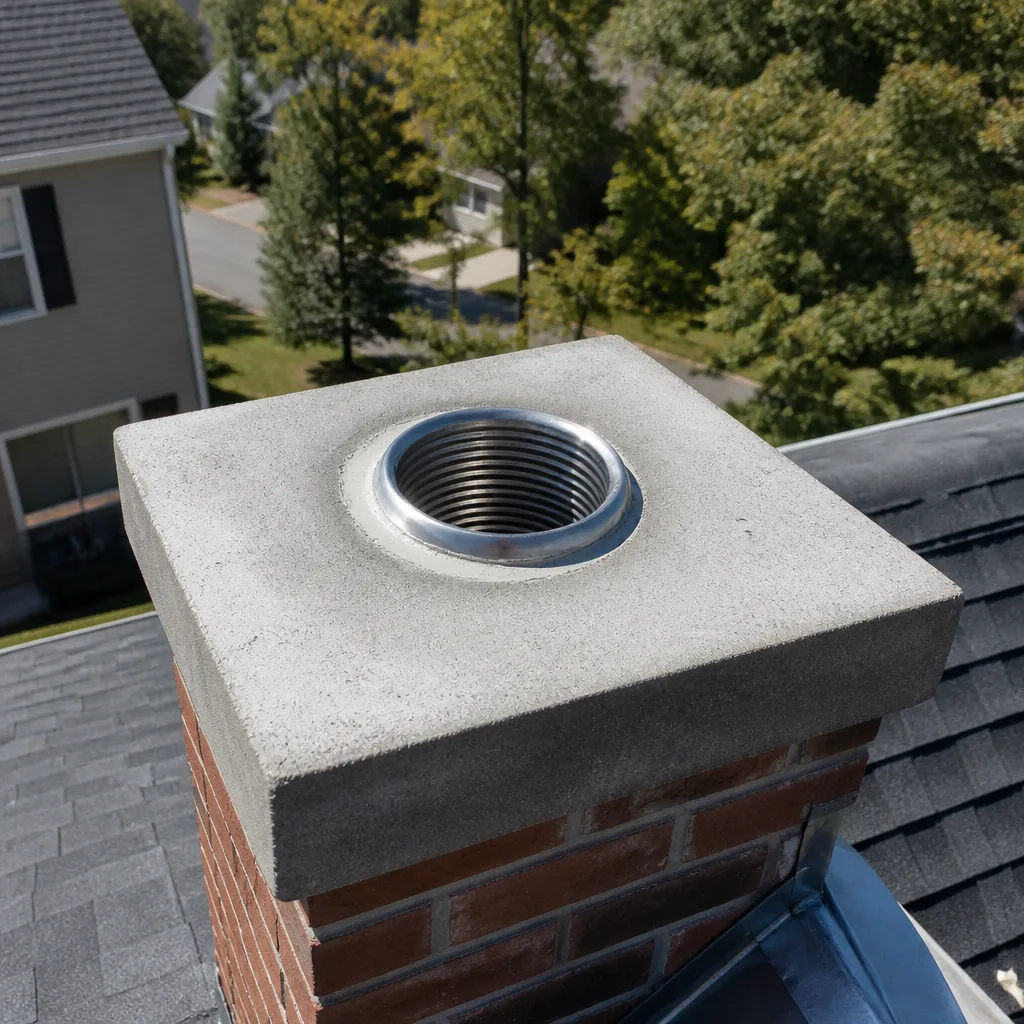 Flue relining
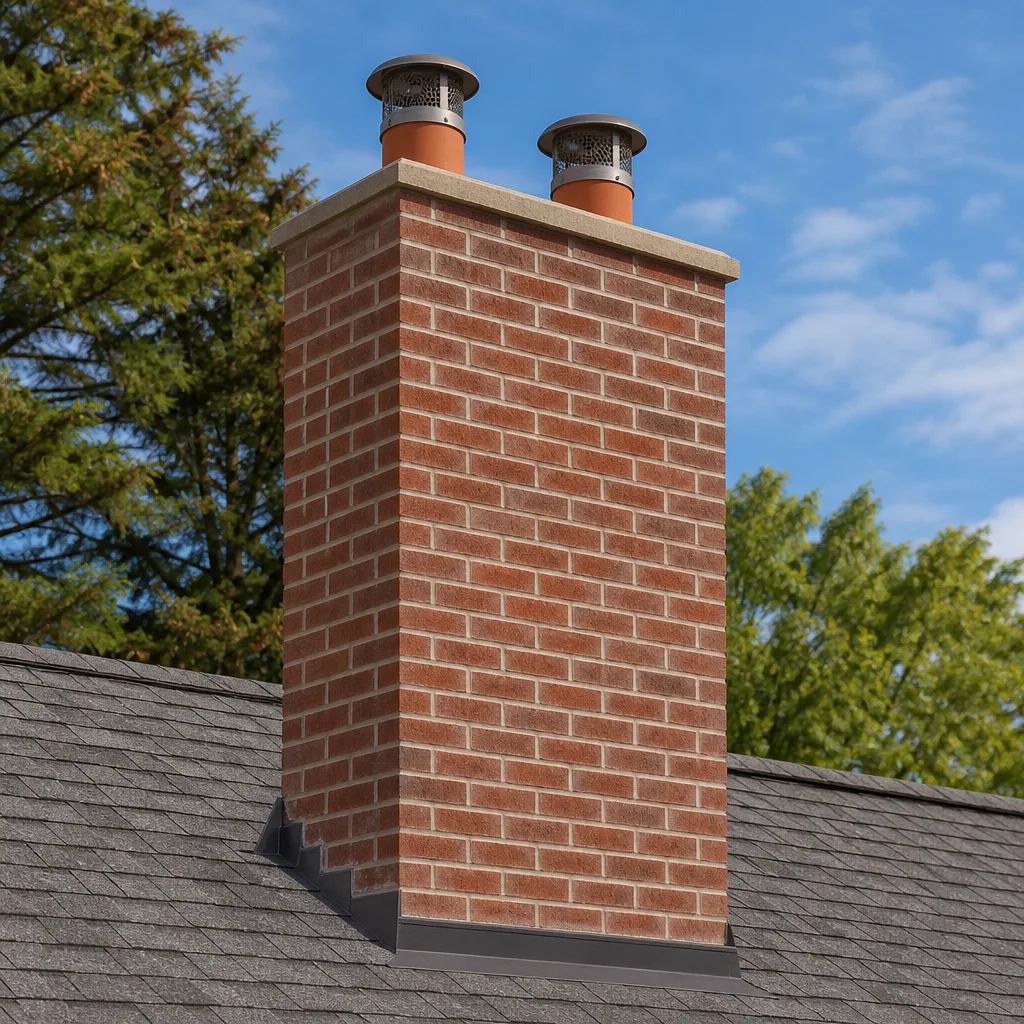 Masonry repair
 Gas fireplace service
Level 1 sweep and inspection to the NFPA 211 annual standard - flue, crown, cap, and flashing checked and photographed
Chimney sweep logs do not sweep chimneys. They loosen some creosote - which then falls where a brush and vacuum still have to collect it.
Chimney Sweep Maintenance Checklist for Baldwin Hills Homeowners
The single most skipped item on every generic chimney checklist is the smoke chamber, and that oversight is also where the most structurally dangerous deterioration in older Baldwin Hills homes silently begins. Most checklists tell you to inspect the flue and call it a day. But a flue liner can look serviceable from the top while the smoke chamber below it is spalling brick into the path of hot gases. In this guide, we’ll walk you through a maintenance checklist that works for Baldwin Hills specifically: what to check, what normal actually looks like, what signals trouble, and which items you can do yourself versus which ones need a Chimney Sweep services technician with a camera system. By the end, you’ll have pass/fail benchmarks you can use standing on a ladder with a flashlight, not a vague list that leaves you guessing.
Quick Answer
A proper chimney maintenance checklist for Baldwin Hills homeowners covers five components: firebox, damper, smoke chamber, flue liner, and cap. You should perform a visual inspection twice a year, with the critical window falling in late summer before Santa Ana wind season, and a professional sweep every 50 to 60 fires or at minimum once annually. For more guides & resources, the pass/fail benchmarks in this guide tell you what each component should look like, what color and texture changes signal trouble, and when to make the call.
Styles & brands we work with
- Sweep & inspection
- Caps & crowns
- Flue relining
- Masonry repair
- Gas fireplace service
Table of Contents
- Why Baldwin Hills Chimneys Age Differently
- Tools You Need for a Homeowner Inspection
- Firebox Checklist: What Normal Looks Like
- Damper Checklist: Testing Seal Integrity with Incense
- Smoke Chamber Checklist: The Most Skipped Component
- Flue Liner Checklist: Reading Color and Texture
- Chimney Cap Checklist: Missing, Rusted, or Wrong Size
- How to Document Findings with Photos Before Calling a Contractor
- Seasonal Timing Map for Baldwin Hills and Santa Ana Season
- Common Mistakes to Avoid
- When to Call a Professional
- Frequently Asked Questions
Why Baldwin Hills Chimneys Age Differently
Baldwin Hills sits in a coastal-influenced climate zone that puts unique stress on masonry and metal chimney components. The marine layer pushes in during the evenings for much of the year, condensing on cool chimney surfaces and slowly working into mortar joints. Then the afternoon sun burns it off, and the cycle repeats. That wet-dry cycling accelerates spalling, efflorescence, and mortar erosion in ways a homeowner in Palm Springs or Phoenix never has to think about. The hillside topography also exposes chimneys to stronger wind gusts than the flats, which means caps and crowns take more abuse here than in neighboring Ladera Heights or View Park.
Add to this the age of the housing stock. Much of Baldwin Hills was built between the 1940s and 1970s, and many chimneys are original. That means terra cotta liners that have absorbed decades of thermal cycling, mortared smoke chambers that were never parged properly in the first place, and dampers that have warped from heat and rust. If you’re in one of the older hillside homes, you’re not maintaining a new system. You’re managing an aging one, and the checklist needs to account for that.
Our team at Chimney Sweep Baldwin Hills home works on these systems regularly. The pattern we see over and over: a homeowner skipped the smoke chamber check for years, the liner looked fine from the top, and the first sign of trouble was a chunk of brick falling into the firebox during a fire. That’s preventable with a simple inspection routine.
Tools You Need for a Homeowner Inspection
You don’t need professional equipment to perform a meaningful chimney inspection. You need a few basic items and about thirty minutes. Here’s the list:
- High-lumen flashlight (at least 500 lumens; a weak flashlight gives you a false sense of security because it can’t reach the smoke chamber)
- Inspection mirror (a 2-inch by 3-inch mechanic’s mirror on a telescoping handle works best for seeing up past the damper)
- Stick of incense (unscented; used to test damper seal and smoke draft)
- Smartphone camera (with flash; for documenting what you find)
- Dust mask** (creosote flakes and old mortar dust are not things you want to breathe)
- Work gloves** (old firebrick and damper edges are sharp)
- Small stiff-bristle brush** (for wiping away loose flakes so you can see the surface underneath)
One note about ladders: if your chimney cap requires getting on the roof to inspect, and your roof pitch in Baldwin Hills is steep, consider whether that’s a job you want to do yourself. Hillside homes here frequently have multi-story drops on one side. We’ll cover cap inspection from the ground where possible, but a roof walk on a steep pitch is one of the items on this checklist where we recommend calling a Chimney Sweep in Baldwin Hills rather than doing it yourself.
Firebox Checklist: What Normal Looks Like
The firebox is the area where your fire actually burns. It’s lined with firebrick, which is a specific type of brick designed to absorb and radiate heat without cracking. Firebrick is lighter in weight and usually lighter in color than structural brick. In most Baldwin Hills homes, you’ll see a cream or tan-colored firebrick in the firebox.
Pass benchmarks:
- Firebrick surfaces are smooth, with hairline cracks no wider than a credit card edge
- Mortar joints between firebricks are intact and not recessed more than 1/8 inch
- No gaps where the firebrick meets the floor of the firebox
- Ash buildup is present but not covering the firebrick entirely
- No rust stains bleeding through the brick from the metal lintel above
Fail signals:
- Firebrick has spalled, meaning the surface has popped off in chunks or flakes, leaving a rough, pebbled texture
- Individual bricks are loose and can be wiggled by hand (wear gloves)
- Gaps wider than 1/4 inch between bricks where heat can reach the structural masonry behind the firebox
- White, powdery deposits on the brick surface (efflorescence) that reappear after cleaning, indicating water moving through the masonry
- Rust-colored staining around the damper frame or lintel, signaling water entry from above
In our experience, hairline cracks in firebrick are not immediately urgent. Firebrick gets hot and cools down repeatedly for decades. Some cracking is normal aging. What you’re looking for is spalling and movement. Spalled firebrick has lost its protective face and will continue to deteriorate. Loose brick means the firebox is no longer a sealed system. Both warrant professional attention.
When we perform Chimney Repair in Baldwin Hills, firebox evaluation is standard on every call. A firebox with spalled brick can often be repaired without a full rebuild if it’s caught before the structural brick behind it starts failing.
Damper Checklist: Testing Seal Integrity with Incense
The damper is the metal door at the top of your firebox that opens when you burn a fire and closes when you don’t. Its job is to seal the chimney from the living space so that conditioned air doesn’t escape and outside air doesn’t pour in. Most Baldwin Hills homes with older fireplaces have a throat damper, a simple cast-iron or steel flap that pivots on hinges above the firebox.
How to test your damper seal with incense:
- Make sure the damper is fully closed and the fire has been out for at least 12 hours.
- Light a stick of unscented incense and hold it directly beneath the damper opening inside the firebox.
- Watch the smoke trail carefully. It should rise straight up and then stop, with no visible movement around the edges of the damper plate.
- If the smoke curves, wavers, or gets pulled toward any edge of the damper, air is moving through a gap. You have a seal failure.
- Repeat the test on a windy day. Wind against the chimney exterior will make even small gaps obvious.
This is the same field method sweep technicians use to check damper integrity before recommending replacement. It works because the visible smoke trail behaves exactly like the invisible air leakage. If you see the smoke get sucked upward through the closed damper, you’re losing conditioned air through that gap every hour of every day.
Damper pass/fail benchmarks:
- Pass: Damper plate closes flat against its seat with no visible light gaps from below; incense smoke rises straight with no deflection
- Fail: Damper plate is warped, rusted through, or leaves visible gaps along any edge; incense smoke curves or is pulled upward
- Fail: Damper handle is stuck, broken, or missing; you cannot confirm whether the damper is open or closed
- Fail: Loud rattling when the damper moves, indicating broken hinge rivets
Older throat dampers in Baldwin Hills homes are often original equipment from the 1960s or 1970s. Cast iron rusts, warps, and loses its seal over time. If your damper fails the incense test, replacement is the fix. We stock replacement dampers from Famco and Copperfield, two brands that hold up to repeated thermal cycling far better than what was installed in these homes originally, as covered in Choosing the Right Chimney Cleaning Brand: A Buyer’s Guide for Baldwin Hills.
Smoke Chamber Checklist: The Most Skipped Component
Here’s the section we opened with, and it deserves its own deep treatment. The smoke chamber is the funnel-shaped area between the damper and the flue liner. It compresses the smoke from the firebox and channels it up into the narrower flue. In almost every chimney built before the 1980s in Baldwin Hills, the smoke chamber is made of corbeled brick: brick laid in stepped rows, each row sticking inward slightly as it rises. Those brick steps are covered in a mortar parge coat that smooths the surface and protects the underlying brick.
The problem: that parge coat is paper-thin in most original construction, and it starts cracking within a decade or two. Heat stress, moisture, and the natural expansion of brickwork all work against it. Once cracks form, the mortar between the corbeled brick steps is exposed to hot gases and combustion byproducts. That mortar erodes. Gaps form. And eventually, the structural brick itself starts spalling.
How to inspect your smoke chamber from inside the firebox:
- Open the damper fully and shine your high-lumen flashlight up past the damper plate.
- Hold your inspection mirror above the damper opening at a 45-degree angle, aimed upward.
- Look for the stepped brick surface of the smoke chamber walls. You should see a relatively smooth, continuous surface.
- Rotate the mirror slowly to check all four walls. You won’t get a perfect view of the front wall without a professional camera, but you can see most of the back and sides.
- Note anything that looks chunky, pitted, or missing. If you see loose debris on the smoke shelf (the flat ledge behind the damper), that’s a red flag.
Smoke chamber pass/fail benchmarks:
- Pass: Surface appears relatively smooth and continuous; no visible gaps between brick courses larger than a pencil width
- Pass: No debris accumulation on the smoke shelf behind the damper
- Fail: Visible gaps between corbeled brick steps where the mortar has eroded away
- Fail: Chunks of mortar or brick sitting on the smoke shelf
- Fail: Parge coat flaking off in sheets, exposing red structural brick underneath
- Fail: A visible haze line, or a white or gray crusty deposit, on the smoke chamber walls
A deteriorating smoke chamber is not a cosmetic issue. The smoke chamber is the first thing hot smoke touches after leaving your firebox. The gaps act as collection points for creosote. If a chimney fire starts in the flue, those creosote deposits in the smoke chamber gaps are fuel. And even without a chimney fire, escaped gas through deteriorated mortar can find its way into wall cavities in older Baldwin Hills construction.
This is also where the HeatShield system we install makes the biggest difference. HeatShield is a ceramic coating applied to the inside of a deteriorated smoke chamber that restores a smooth, insulated, continuous surface without a teardown rebuild. It’s the difference between a repair costing thousands and a full masonry reconstruction costing significantly more. Few sweep-only companies offer it, and it’s one of the reasons we can often fix smoke chambers that other companies would refer out.
Flue Liner Checklist: Reading Color and Texture
The flue liner is the vertical channel that carries smoke from the smoke chamber up and out of the house. In most Baldwin Hills chimneys built before the 1980s, that liner is terra cotta: segmented clay tiles stacked in a vertical column. Terra cotta was the standard for decades. It’s a decent material, but it has predictable failure modes, and recognizing them early is what this section teaches.
Pass benchmarks for a terra cotta flue:
- Color: Light brown, tan, or reddish-orange terra cotta with a smooth glazed or unglazed surface
- Texture: Smooth with no flaking; tile edges aligned vertically in even segments
- Joints: Visible but filled, with mortar intact between tile segments
- No visible soot buildup thicker than 1/8 inch on the surface after a season of use
Fail signals, by color and texture:
- White or gray crusty deposits on the flue surface: this indicates water entry mixing with creosote, creating a highly acidic residue that corrodes terra cotta and mortar
- Flaking or peeling surface where the terra cotta has begun to spall: heat and moisture have damaged the tile face
- Vertical cracks visible between segments where the mortar has failed: these become pathways for heat to reach surrounding framing
- Missing tile segments visible as gaps or offsets: severe liner failure, often requiring a replacement liner system
- Glossy, tar-like creosote buildup more than 1/4 inch thick: stage 3 creosote, which is a fuel source for chimney fires
- Black, matte creosote coating that wipes off with a finger: stage 1 creosote, normal and expected, and the reason you schedule a sweep
Here’s the key line from a homeowner’s perspective: you cannot see your flue liner from the ground, and you cannot see it from inside your firebox. The smoke chamber blocks the view. Professional chimney sweeps inspect flue liners with a camera system run up from the firebox or down from the roof, as detailed in our Chimney Sweep Troubleshooting: Common Problems and How to Fix Them. The visual benchmarks above are what you’ll discuss with a technician after a camera inspection, not something you’ll spot with a mirror from inside the firebox.
If the camera inspection finds cracked, spalled, or missing terra cotta segments, the repair options depend on severity. A DuraFlex flexible stainless steel liner system can be installed inside the existing flue, restoring a continuous, insulated pathway without tearing down the chimney. This is a professional-grade material we install regularly, and it converts an aging, cracked terra cotta chimney into a safe, code-compliant system.
Chimney Cap Checklist: Missing, Rusted, or Wrong Size
The chimney cap is the metal assembly at the top of the flue. It keeps rain, leaves, embers, and animals out of the chimney. It’s also the most exposed component, sitting in full sun and salt-adjacent coastal air year-round. In Baldwin Hills, caps fail faster than almost any other chimney component.
What to check from the ground:
- Is the cap present? If you can see the open flue opening from the ground, there is no cap. That’s a fail.
- Is the cap straight? A tilted cap suggests a loose mounting bracket or wind damage.
- Is there rust staining running down the crown? That signals water pooling around a failing cap base.
- Are there visible gaps between the cap and the flue tile? A cap that doesn’t cover the full flue opening lets rain fall directly in.
- Is there any visible nesting material protruding from under the cap? Birds enter through gaps and build nests that block draft.
The sizing problem most homeowners miss: a cap that fits one flue tile may not fit the next chimney size down. If a previous homeowner replaced the cap with a universal-fit model, it might be too small for your flue opening. Rain falls in around the edges, soaks into terra cotta, and the freeze-thaw cycling eats the liner from the top down. In Baldwin Hills, where nighttime condensation is a year-round factor, an undersized or missing cap accelerates every other deterioration pattern in this checklist.
We install caps from Gelco and Olympia Chimney, both of which make stainless steel and copper caps sized to actual flue dimensions. If your cap is missing or the wrong size, this is one of the simplest items on the checklist to fix, and also one of the highest-value repairs in terms of protecting the rest of the system.
How to Document Findings with Photos Before Calling a Contractor
You found something. Before you call us or any other chimney company, spend three minutes documenting it with your phone. This changes the dynamic of the contractor visit in your favor. Here’s how to do it right:
- Photograph the firebox from three angles. Straight on, angled down into the floor corners, and angled up toward the damper. Use the flash. The camera will capture detail your eyes miss.
- Photograph the damper from below with the mirror in frame. If your mirror is showing you something ugly up past the damper, photograph the mirror’s reflection. This is imprecise, but it gives a technician a preview of what to expect.
- Photograph any debris that has fallen into the firebox. If you found chunks of brick or mortar, put a coin or a lighter in the frame for scale. We can often identify the material from a photo and tell you before the visit whether it’s firebrick, smoke chamber mortar, or flue tile.
- Photograph visible rust, efflorescence, or staining. Natural light plus flash. If something is white and crusty, get close enough that the texture is visible.
- Note the conditions of your last fire. Date, duration, type of wood, any unusual smells or smoke spillage. Write it in a text file or email it to yourself. This context matters for diagnosis.
The goal of photo documentation is not to replace a professional camera inspection. It’s to narrow the diagnostic window. When a technician arrives with your photos and a clear description, they spend less time searching and more time assessing. You also get a clearer baseline for comparing repair quotes. A contractor who sees that you’ve already found a failing smoke chamber is less likely to inflate the scope of work. The more evidence you bring, the more accountable the process becomes.
Seasonal Timing Map for Baldwin Hills and Santa Ana Season
Most chimney maintenance checklists assume a fall-before-winter schedule, because most chimney content is written for the Northeast or Midwest. Baldwin Hills doesn’t run on that calendar. We have a two-season fire safety rhythm driven by Santa Ana winds and coastal inversion patterns.
The critical window: late August through early October. Santa Ana season typically begins in September and runs through November, with peak wind events occurring November through January. The dry, gusty northeast winds pull moisture from hillside vegetation, creating the wildfire conditions that make fire safety in Baldwin Hills a real concern, not a theoretical one. If your chimney has loose creosote, a damaged cap, or a failing smoke chamber, Santa Ana winds pressurize the system and can turn a small problem into a structure fire. Schedule your professional sweep in late August or September, before the winds arrive.
The secondary window: March through May. The end of the rainy season is when you assess water damage. If your cap failed over the winter or condensation has been working on your mortar joints, March is when the evidence is most visible. Efflorescence shows up clearly on damp masonry, and spalling is easier to identify when the surfaces are cool and dry rather than sun-baked.
The homeowner inspection schedule:
- Late August: Full visual inspection from inside the firebox; schedule a sweep if needed
- November: Re-check cap and rooftop components after early Santa Ana events
- March: Post-rain water damage assessment; check for efflorescence and spalling
- Before every fire season: Incense damper test
This timing is specific to Southern California and doesn’t match the chimney maintenance calendars published for cold-climate markets. If you’re also using your chimney for occasional fires during Baldwin Hills’ cool winter nights between December and February, keep the schedule above and you’ll stay ahead of most deterioration patterns.
Common Mistakes to Avoid
- Skipping the smoke chamber inspection because the flue looks clean. The flue is visible from the top. The smoke chamber is not. A clean flue does not mean a healthy smoke chamber, and in our experience on Baldwin Hills chimneys, the smoke chamber often fails while the flue still looks serviceable.
- Using a generic chimney cap from a hardware store. Universal-fit caps are almost never the correct size for your flue. An undersized cap is a water entry point, and water entry is the root cause of most terra cotta and mortar failure in this climate.
- Relying on a flashlight inspection from the fireplace opening and concluding the chimney is fine. A flashlight cannot reach the smoke chamber or flue properly. If you can’t see it, you can’t claim it’s clean or intact.
- Treating efflorescence as a cosmetic issue. White powdery deposits on brickwork mean water is moving through the masonry. In a coastal climate with nightly condensation, this is a slow structural problem, not a stain.
- Waiting until you see smoke spillage to call a sweep. Smoke spillage means the draft is already compromised by creosote buildup, a blocked flue, or a deteriorating smoke chamber. By the time you see smoke in the living room, the system has been struggling for a while.
- Burning unseasoned wood from local tree trimmings. Eucalyptus and other hardwood trimmings available around Baldwin Hills need a full two years to season properly. Burning them green creates stage 2 and stage 3 creosote rapidly, which becomes a chimney fire fuel load.
- Assuming a fireplace in a hot climate doesn’t need annual attention. Baldwin Hills gets enough use from winter evening fires, and the marine layer does enough year-round moisture cycling, that skipping annual maintenance still lets deterioration compound quietly.
When to Call a Professional
Some items on this checklist are DIY-observable, and some genuinely require a certified technician with a camera system. If you found spalled firebrick, loose brick in the firebox, debris on the smoke shelf, a failed damper seal, or a missing/undersized cap, don’t guess at the fix. The decision between repair and replacement, and the specific material choices for repairs, are judgments based on camera evidence and systems knowledge. We also recommend a professional camera inspection after any Santa Ana season where winds exceeded 40 mph for sustained periods, because wind pressure can shift deteriorated liner segments and open new gaps that weren’t visible the season before. Dryer Vent Cleaning in Baldwin Hills is worth scheduling at the same time as your chimney sweep, since lint buildup is the leading residential appliance fire cause and both services address the same underlying safety concern. Chimney Sweep Baldwin Hills offers free estimates in Baldwin Hills: call (877) 752-4855.
Frequently Asked Questions
Chimney sweep pricing in Baldwin Hills typically ranges from $180 to $350 for a standard open fireplace sweep, with costs rising if there is heavy creosote buildup, a blockage, or if your home requires hillside access considerations. The final number depends on the condition found during inspection, which is why we provide a free estimate before any work begins. Call (877) 752-4855 for an exact quote on your system.
A chimney should be swept after every 50 to 60 fires, or at minimum once per year, whichever comes first. For most Baldwin Hills homeowners who use their fireplace for evening fires between December and February, that lands you in an annual cadence. If you burn unseasoned wood, the cadence shortens, because creosote accumulates faster from incomplete combustion.
A terra cotta liner is fine if camera inspection shows smooth tile surfaces, intact joints, and no water staining or spalling. If the camera shows cracked, flaking, or missing segments, the liner is no longer protecting your home’s framing from heat transfer, and a replacement system like DuraFlex stainless steel or HeatShield ceramic resurfacing is the responsible fix. You should never accept a liner replacement recommendation without seeing the camera footage yourself.
Creosote accumulates in layers, the damper seal degrades, the cap rusts out, and moisture cycles through the system year-round. Eventually, the smoke chamber mortar erodes, heat escapes through liner cracks, and the risk of a chimney fire rises with every burn. A well-maintained chimney can last the life of the house; a neglected one in Baldwin Hills can go from functional to hazardous in under a decade.
Yes, for the firebox, damper, and visible smoke chamber surfaces. A high-lumen flashlight, inspection mirror, and incense stick get you a meaningful home assessment. You cannot see the flue liner or the full smoke chamber without a professional camera system, so those components require a certified sweep.
Yes, if you want a whole-home approach to fire safety. Lint buildup in dryer vents causes roughly 2,900 home fires per year according to the U.S. Fire Administration, and the vent system is connected to the same exterior wall environment that ages your chimney. Cleaning both under one vendor keeps your whole system on a single inspection calendar. Call (877) 752-4855 to schedule both services in one visit.
The Bottom Line
A useful chimney maintenance checklist tells you what normal looks like, not just what to inspect. For Baldwin Hills homeowners, that means knowing what a healthy firebox surface feels like, what a sealed damper does when incense smoke hits it, what a deteriorating smoke chamber looks like through a mirror, and what color and texture changes on terra cotta signal water damage. Run this checklist in late August before Santa Ana winds arrive, document everything with photos, and call a professional for anything you can’t see clearly with your own eyes. The smoke chamber is where the serious deterioration hides, and it’s the one item most checklists skip. Don’t skip it.
Written by the team at Chimney Sweep Baldwin Hills, serving Baldwin Hills since 2015.
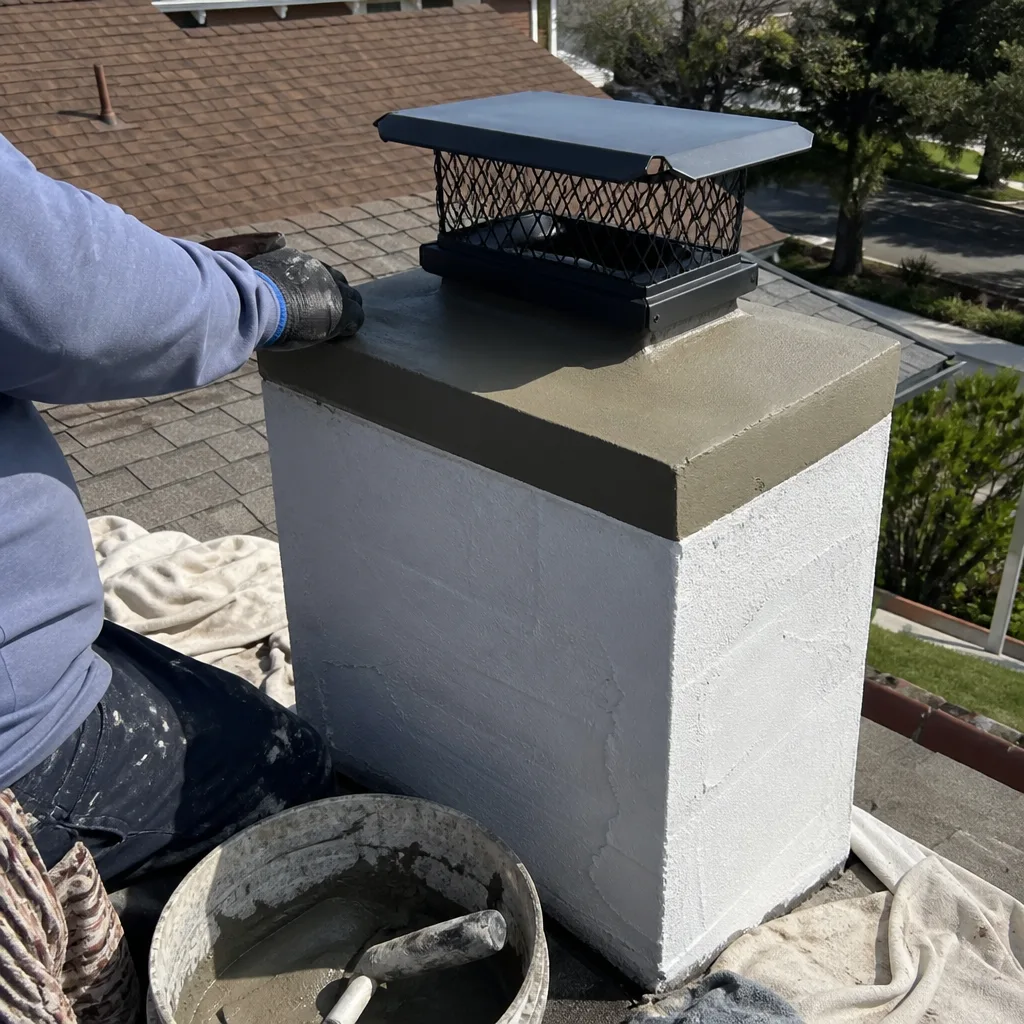
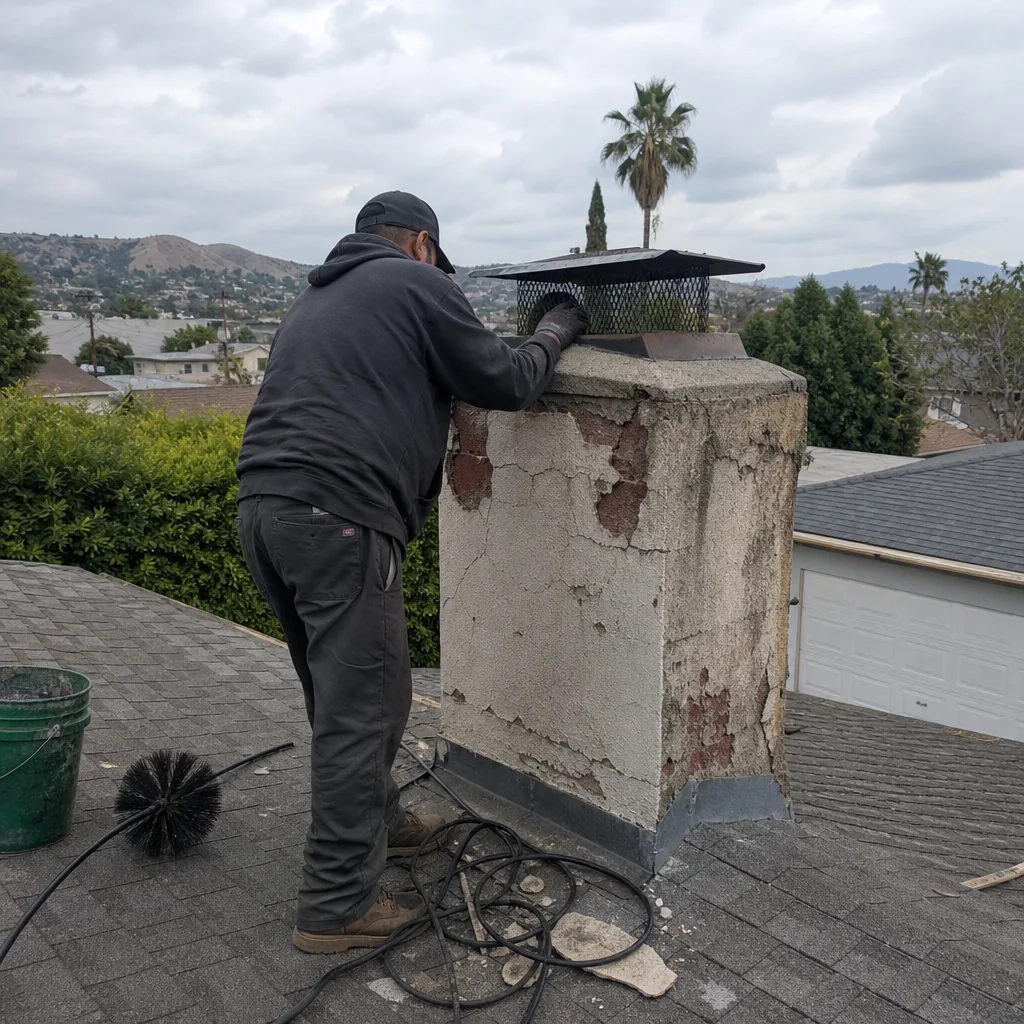
See the difference
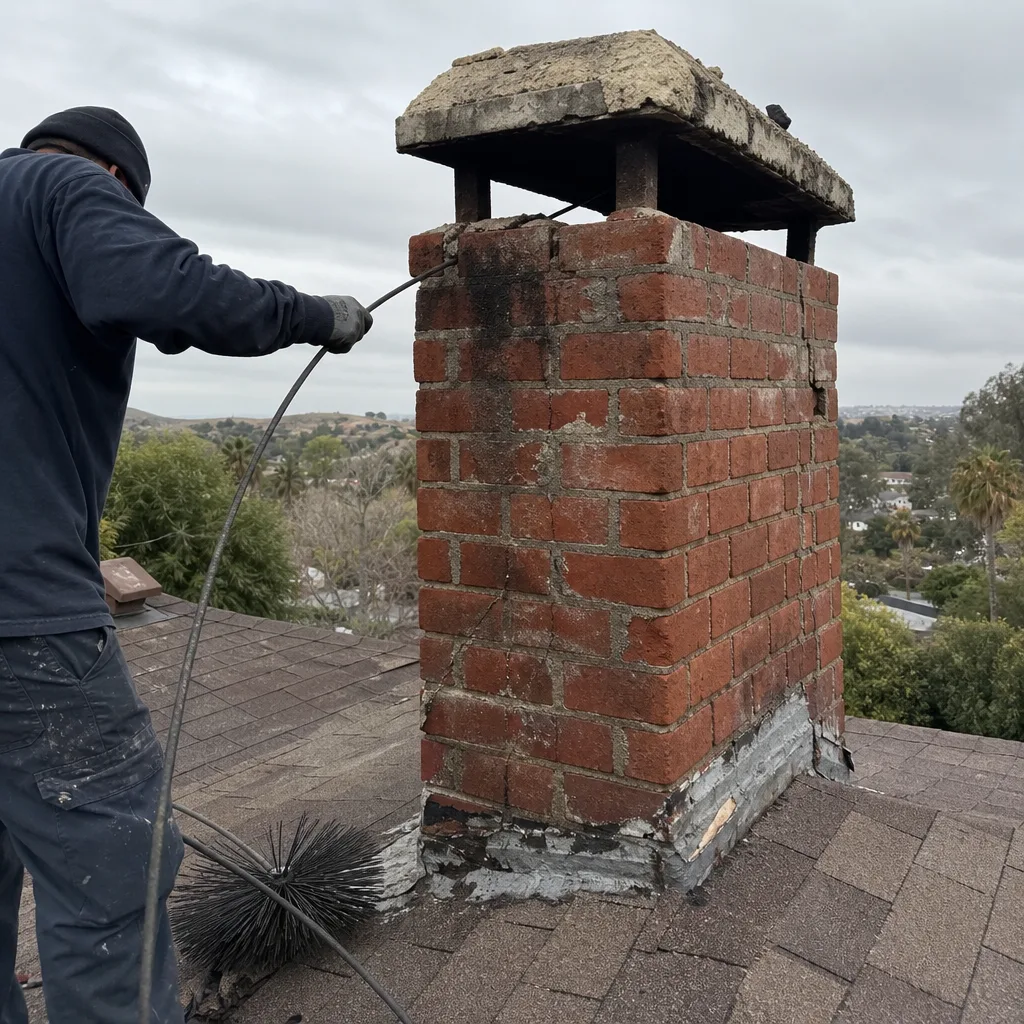 Before
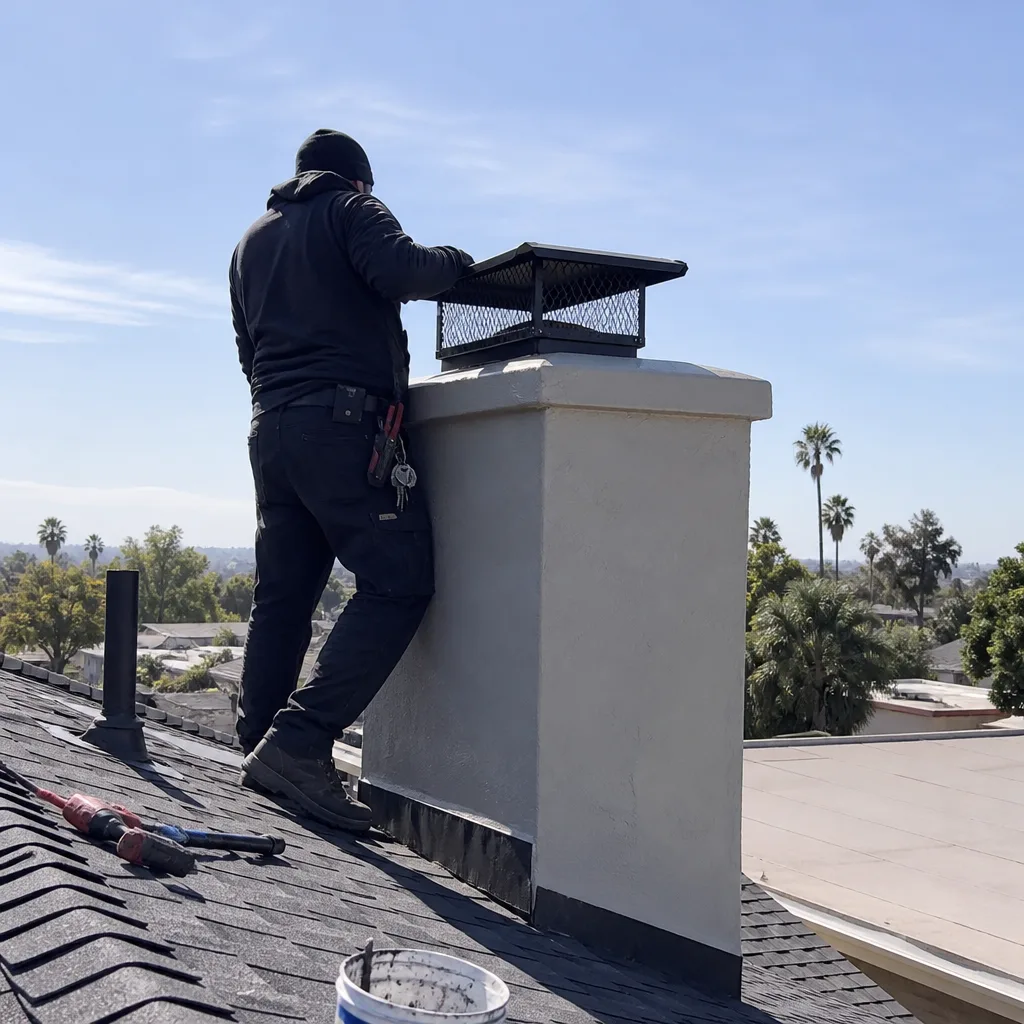 After
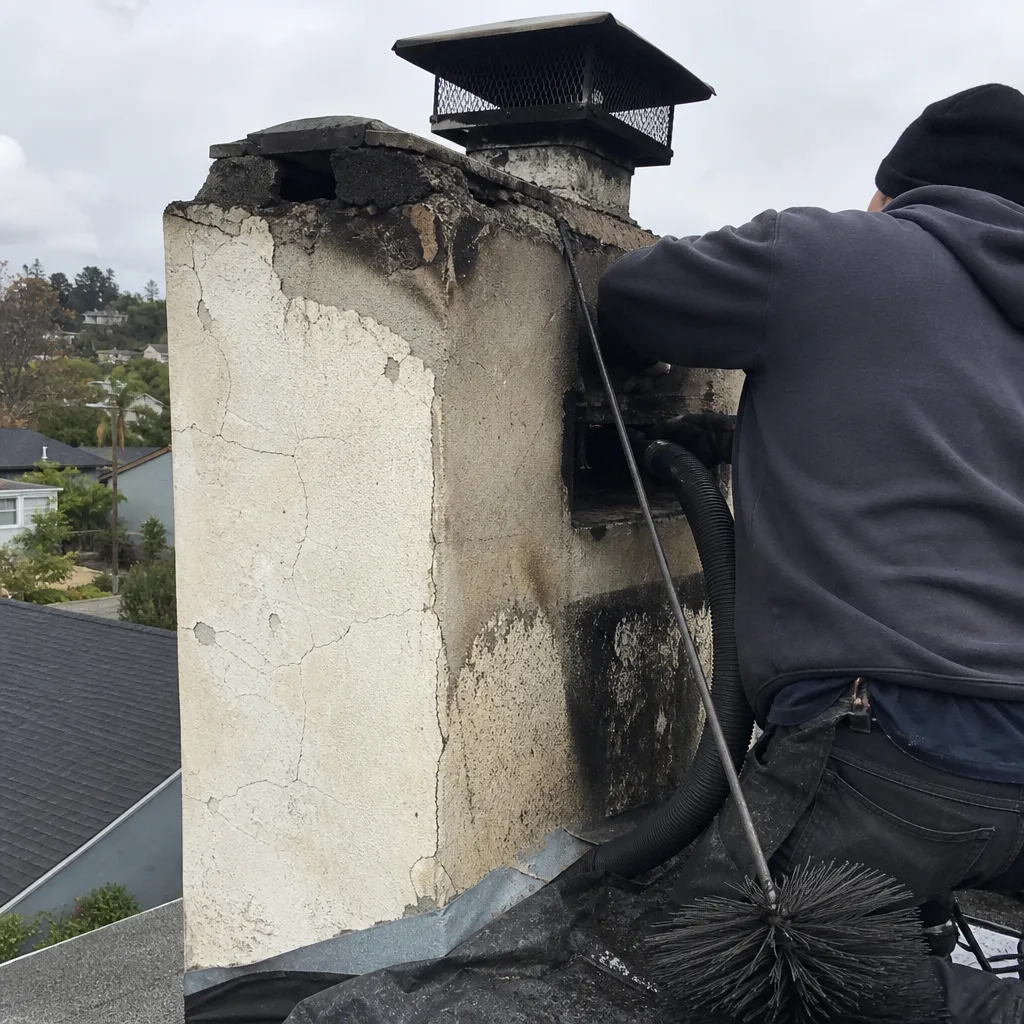 Before
 After
 Before
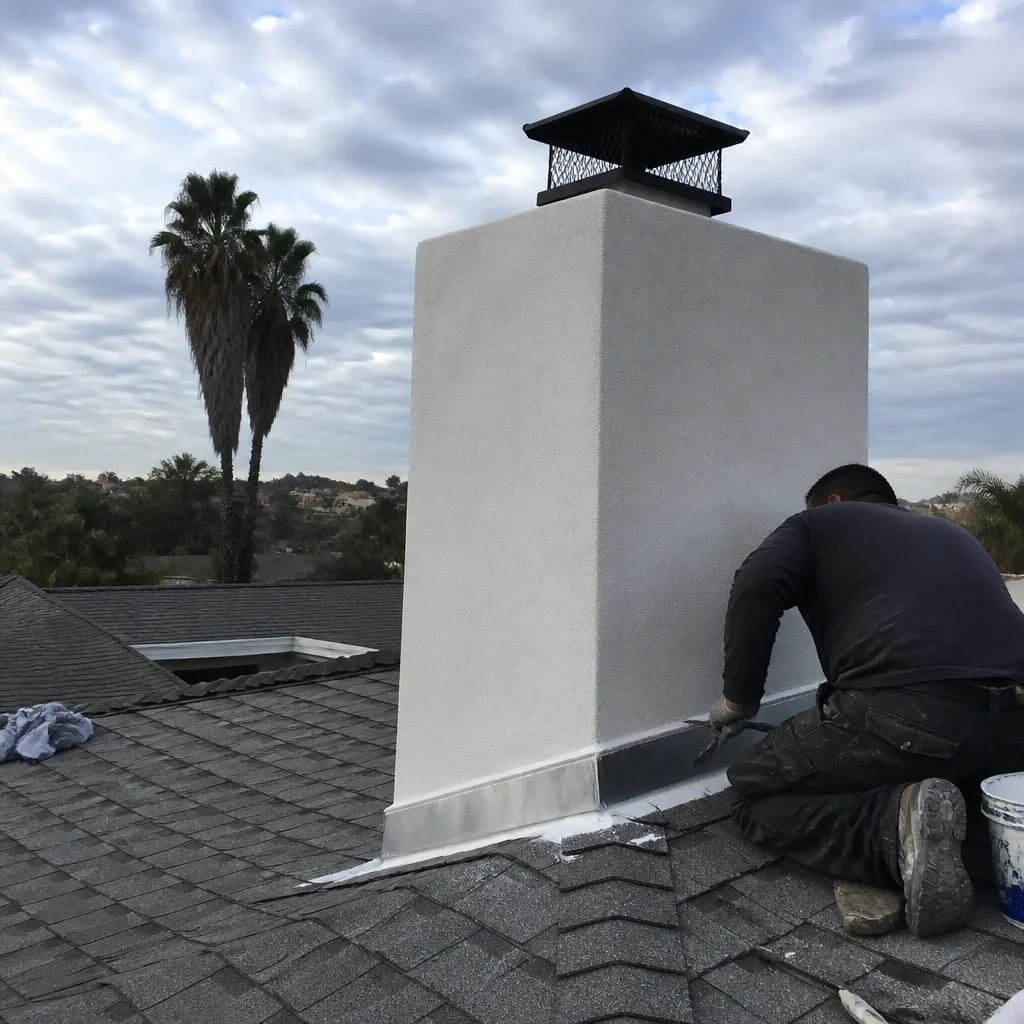 After